
Hello Community!
Last week, I published a video about a feature I created using the Matter.js library in an HTML element inside Bubble. As promised, here is the step-by-step guide so you can also implement this amazing feature!
Initial Considerations
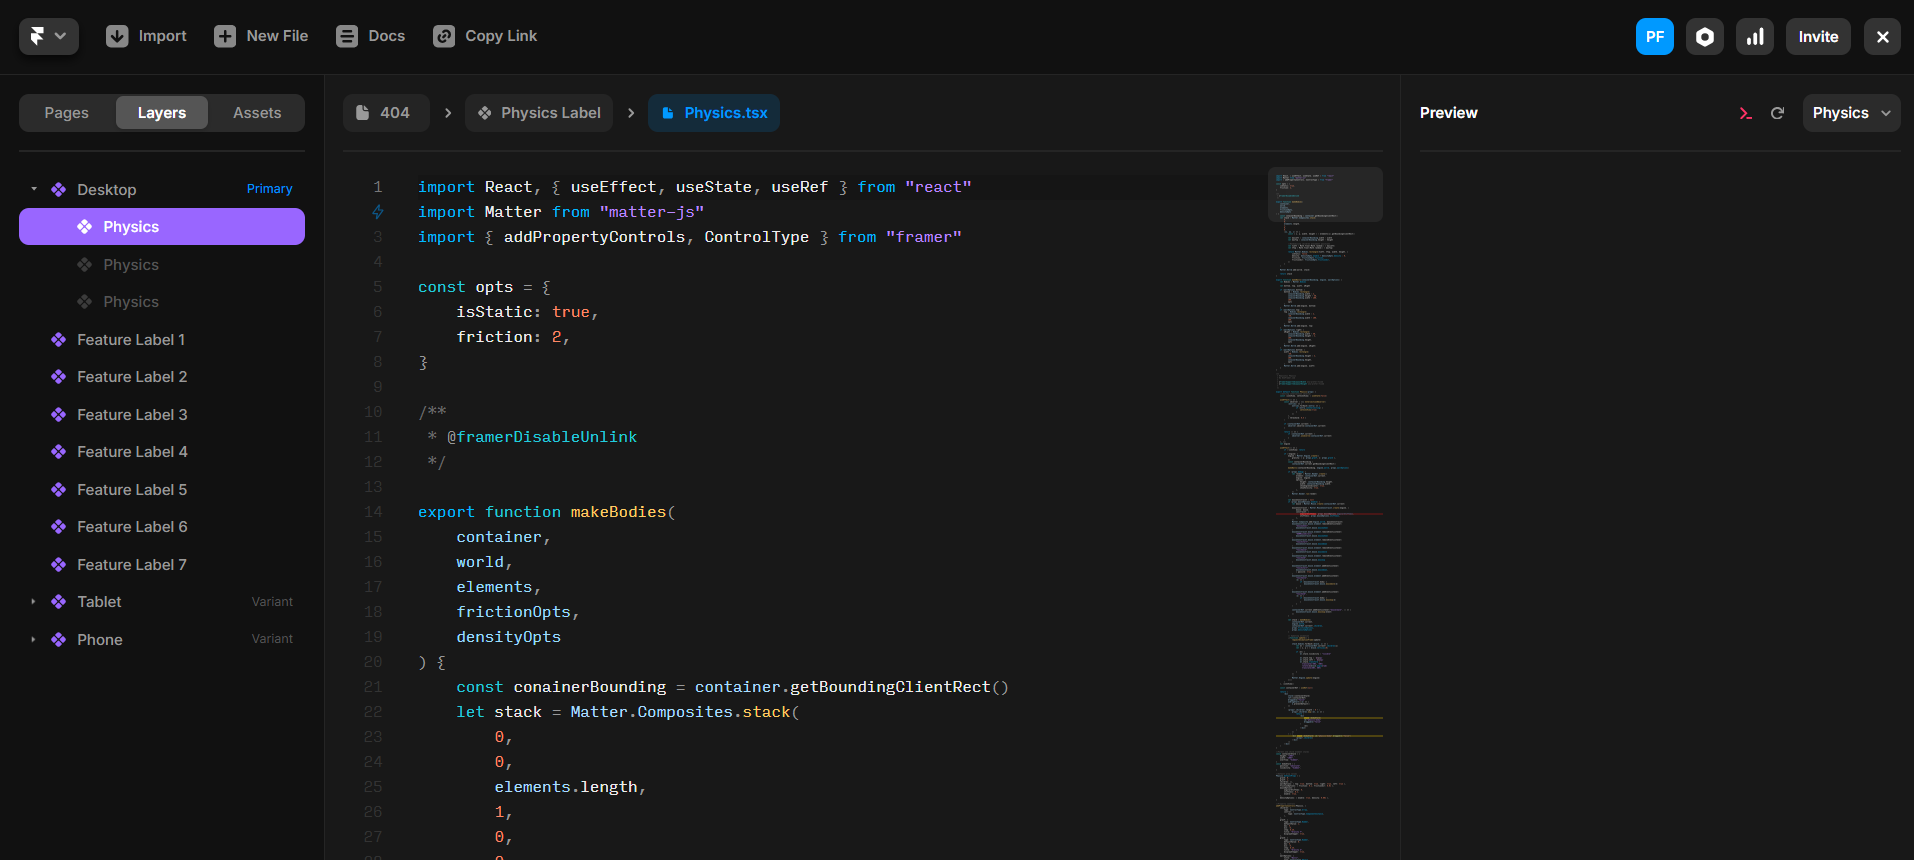
The code used was taken from a page on Framer, as shown in the images below:

If you’ve seen an app or template that has similar functionality and provides the code, feel free to DM me, email me at sociosemp@gmail.com, or schedule a meeting at this link: https://calendar.app.google/2vthkv2wdavWV84o6.
This code was developed for React, and implementing it in Bubble will require some adaptations. Bubble does not directly support libraries like Matter.js or the React framework, so you will need to use the Bubble JavaScript plugin or create a custom HTML element.
Now, let’s get to the tutorial!
Step 1: Creating an HTML/JavaScript Element in Bubble
-
In the Bubble editor, go to the Design tab and insert an HTML Element or add a plugin like “Toolbox” to execute JavaScript.
-
Insert the adapted code to be executed in the Bubble environment.
Necessary adaptations:
- Create an HTML container that
Matter.jscan manipulate (equivalent to React’scontainerRef). - Child elements (represented by
props.childrenin React) will be the Bubble elements added to the HTML container. - Replace the DOM manipulation via React’s
useRefandpropswith manipulation of IDs or classes in HTML. - Initialize
Matter.jsdirectly in Bubble, configuring the elements manually.
Step 2: Setting Up Your Environment in Bubble
- In your app, navigate to Settings > General and scroll to the bottom of the page. Check the option “Expose the option to add an ID attribute to HTML elements”.

Under SEO/meta tags, scroll down to “Headers Customization” and add the Matter.js library via CDN:
<script src="https://cdnjs.cloudflare.  com/ajax/libs/matter-js/0.19.0/matter.min.js"></script>
This will ensure that physics animations with MatterJS will be visible when the elements are loaded.

Once that’s done, let’s go to the Plugins tab and add the “Toolbox” plugin to be able to execute JavaScript in Bubble.

Step 3: Adding Elements to Bubble
- Create a parent group:
- Add a group with the ID
physics-container. - Set the width and height as desired.
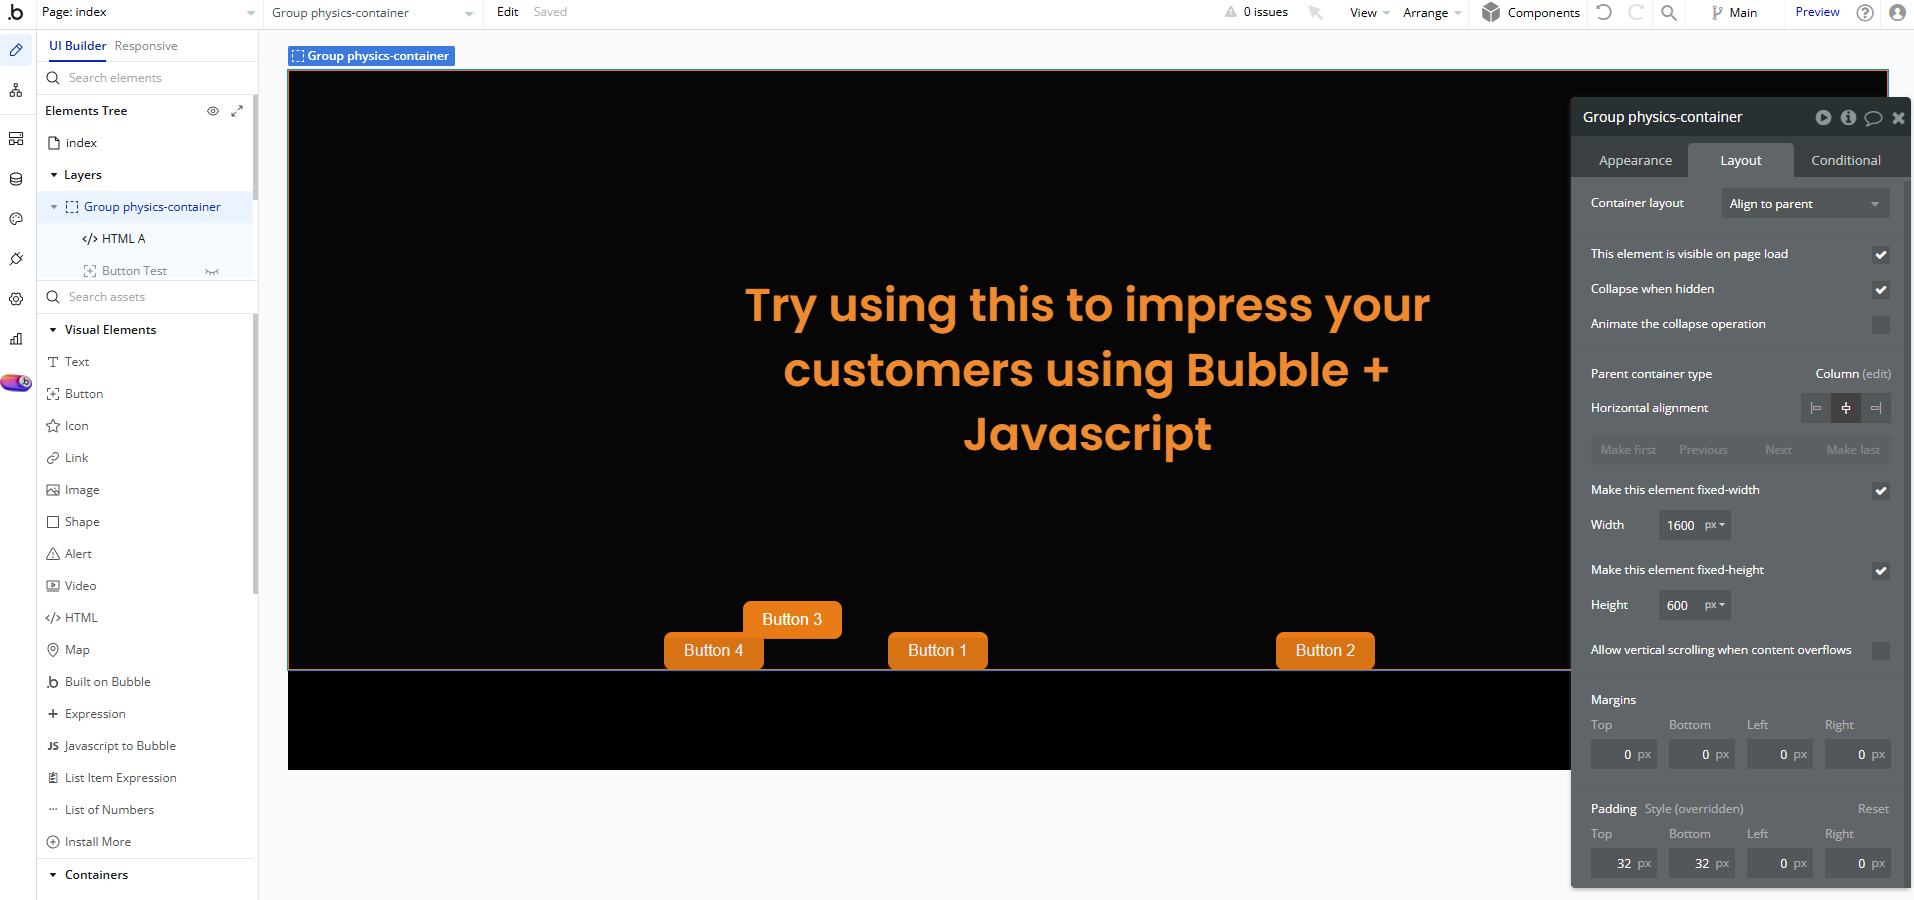
On your page, add a “physics-container” group (we need to insert a group with child elements so the code can identify the elements and boundaries of the page).
In the “ID ATTRIBUTE”, insert: “physics-container” (this will be one of the ways we reference the group in the HTML code.

Once that’s done, let’s add some buttons to the screen (You can add as many buttons as you want. In this case, I will only add 4).
You can give each button whatever name you want. However, you will also need to insert an ATTRIBUTE ID for each one. As in the example below:


Now, let’s insert an html element inside the group:

In this HTML code, you will insert the code copied from the framer. Or if you prefer, copy the code below:
<!DOCTYPE html>
<html lang="en">
<head>
    <meta charset="UTF-8">
    <meta name="viewport" content="width=device-width, initial-scale=1.0">
    <title>3D Effect with Matter.js</title>
    <style>
        body, html {
            margin: 0;
            padding: 0;
            width: 100%;
            height: 600px;
            overflow: hidden;
        }
        #physics-container {
            position: relative;
            width: 1600px;
            height: 600px;
            background: #000000; /* Background color container */
        }
        #physics-container button {
            position: absolute;
            padding: 10px 20px;
            font-size: 16px;
            cursor: pointer;
            background: #e87811; /* Background color button */
            color: #ffffff; /* Font color */
            border: none;
            border-radius: 8px; /* Borders */
            box-shadow: 2px 4px 6px rgba(0, 0, 0, 0.2); /* Blur */
        }
        #physics-container button:hover {
            background: #d4670f; /* Hover*/
        }
    </style>
</head>
<body>
    <div id="physics-container">
        <button id="child1">Button 2</button>
        <button id="child2">Button 3</button>
        <button id="child3">Button 4</button>
        <button id="child4">Button 1</button>
    </div>

    <script src="https://cdnjs.cloudflare.com/ajax/libs/matter-js/0.19.0/matter.min.js"></script>
    <script>
        const gravX = 0;
        const gravY = 1;
        const wallOptions = { top: true, bottom: true, right: true, left: true };
        const frictionOptions = { friction: 0.1, frictionAir: 0.01 };
        const densityOptions = { enable: true, density: 0.001 };

        const { Engine, Render, Runner, Bodies, Composite, Mouse, MouseConstraint } = Matter;
        const container = document.getElementById("physics-container");

        const containerWidth = 1400;
        const containerHeight = 600;

        const engine = Engine.create();
        engine.gravity.x = gravX;
        engine.gravity.y = gravY;

        function makeWalls(containerWidth, containerHeight, engine, wallOptions) {
            const wallThickness = 50;
            if (wallOptions.bottom) {
                const bottom = Bodies.rectangle(containerWidth / 2, containerHeight + wallThickness / 2, containerWidth, wallThickness, { isStatic: true });
                Composite.add(engine.world, bottom);
            }
            if (wallOptions.top) {
                const top = Bodies.rectangle(containerWidth / 2, -wallThickness / 2, containerWidth, wallThickness, { isStatic: true });
                Composite.add(engine.world, top);
            }
            if (wallOptions.left) {
                const left = Bodies.rectangle(-wallThickness / 2, containerHeight / 2, wallThickness, containerHeight, { isStatic: true });
                Composite.add(engine.world, left);
            }
            if (wallOptions.right) {
                const right = Bodies.rectangle(containerWidth + wallThickness / 2, containerHeight / 2, wallThickness, containerHeight, { isStatic: true });
                Composite.add(engine.world, right);
            }
        }

        makeWalls(containerWidth, containerHeight, engine, wallOptions);

        function makeBodies(container, world, densityOpts, frictionOpts) {
            const elements = container.children;
            const bodies = [];

            for (let i = 0; i < elements.length; i++) {
                const el = elements[i];
                const { width, height } = el.getBoundingClientRect();
                const x = Math.random() * (containerWidth - width);
                const y = Math.random() * (containerHeight - height);

                const body = Bodies.rectangle(x + width / 2, y + height / 2, width, height, {
                    isStatic: false,
                    density: densityOpts.enable ? densityOpts.density : 0,
                    friction: frictionOpts.friction,
                    frictionAir: frictionOpts.frictionAir,
                });
                bodies.push(body);
                el.body = body;
            }

            Composite.add(world, bodies);
            return bodies;
        }

        const bodies = makeBodies(container, engine.world, densityOptions, frictionOptions);

        function update() {
            requestAnimationFrame(update);
            Engine.update(engine);

            for (let i = 0; i < bodies.length; i++) {
                const el = container.children[i];
                const body = bodies[i];
                const { x, y, angle } = body.position;

                // Atualizar posição e rotação dos botões
                el.style.left = `${x - el.offsetWidth / 2}px`;
                el.style.top = `${y - el.offsetHeight / 2}px`;
                el.style.transform = `rotate(${angle}rad)`;
            }
        }
        update();

        // Interação com o mouse (arrastar os botões)
        const mouse = Mouse.create(container);
        const mouseConstraint = MouseConstraint.create(engine, {
            mouse: mouse,
            constraint: {
                stiffness: 0.2,
                render: { visible: false }
            }
        });
        Composite.add(engine.world, mouseConstraint);

        // Iniciar o motor
        const runner = Runner.create();
        Runner.run(runner, engine);
    </script>
</body>
</html>
In the code width and height, I chose to define the layout like this:

Now with the code in hand and your layout configured, let’s look at some important things to replace:

Note that in the first square we define the layout of the HTML element:
html {
            margin: 0;
            padding: 0;
            width: 100%;
            height: 600px;
            overflow: hidden;
        }
Next, the “physics-container” group:
  #physics-container {
            position: relative;
            width: 1600px;
            height: 600px;
            background: #000000; /* Background color container */
        }
And finally, the buttons:
#physics-container button {
            position: absolute;
            padding: 10px 20px;
            font-size: 16px;
            cursor: pointer;
            background: #e87811; /* Background color button */
            color: #ffffff; /* Font color */
            border: none;
            border-radius: 8px; /* Borders */
            box-shadow: 2px 4px 6px rgba(0, 0, 0, 0.2); /* Blur */
Now for the important part, how to reference the buttons in the code.
Note the following:
<body>
    <div id="physics-container">
        <button id="child1">Button 2</button>
        <button id="child2">Button 3</button>
        <button id="child3">Button 4</button>
        <button id="child4">Button 1</button>
    </div>
In this code, we are indicating the group ID:
id=“physics-container”
The button IDs:
child1, child2, child3 and child 4
In this case, we are using only 4. You can insert as many buttons as you want, as long as you add the parameter: Button 5
Now let’s go back to Bubble.
Notice that the buttons do not need to be visible while the page is loading. The only requirement is to leave them inside the group:

In my case, I set the group layout to “Align to parent” layout to align elements in the center of the group. Hope this helps!
If you have any questions or issues with your code, don’t hesitate to reach out and send me a message! I’m here to help. If you liked the content, comment below.