
In the last few weeks, a client gave me a task to integrate the SendGrid API into the app to implement personalized emails for relevant user and platform actions. It was a bit challenging, and this task would take time and effort. Moreover, it would involve coding features (which I’m not familiar with).
How could I finish it on time? I reflected for a few minutes and thought to myself: Why not? I can ask some friends for tips, I can sacrifice a bit of my free time, it wouldn’t take that long, and moreover, my client would be happy to see my dedication in delivering a feature in such a short time.
That said, what are we waiting for? Here, I’ll show you how I carried out this integration, step-by-step, and share important tips for those who want to personalize emails in their app or are developing this functionality for their client or company.
1 - Log in with an account or sign up at SendGrid. Like the example below:

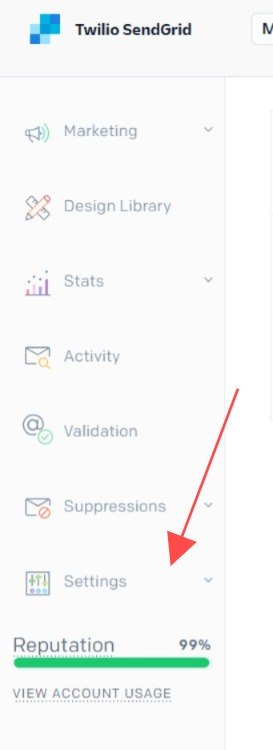
2 - Then, in your dashboard, go to ‘Settings’ and then ‘API Keys’ to obtain your API key:
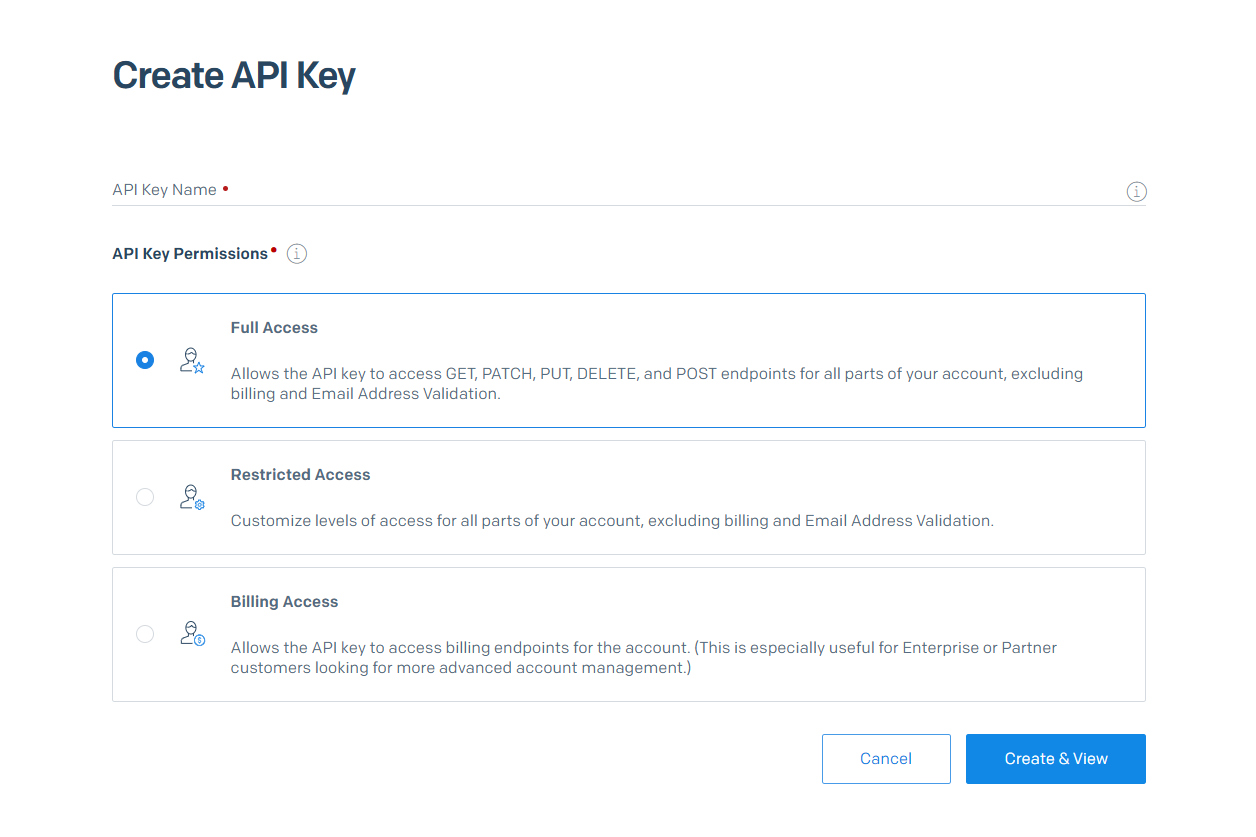
Name your API and set the permissions:
And finally, copy your key:
(This API key will be used only for testing. When this study is published, the API key will have been deleted and will be impossible to use for testing or other purposes.)
Following all these steps:
- Create an account
- Access the APIs on the dashboard
- Get the API token
Now let’s move on to the step-by-step guide for email templates:
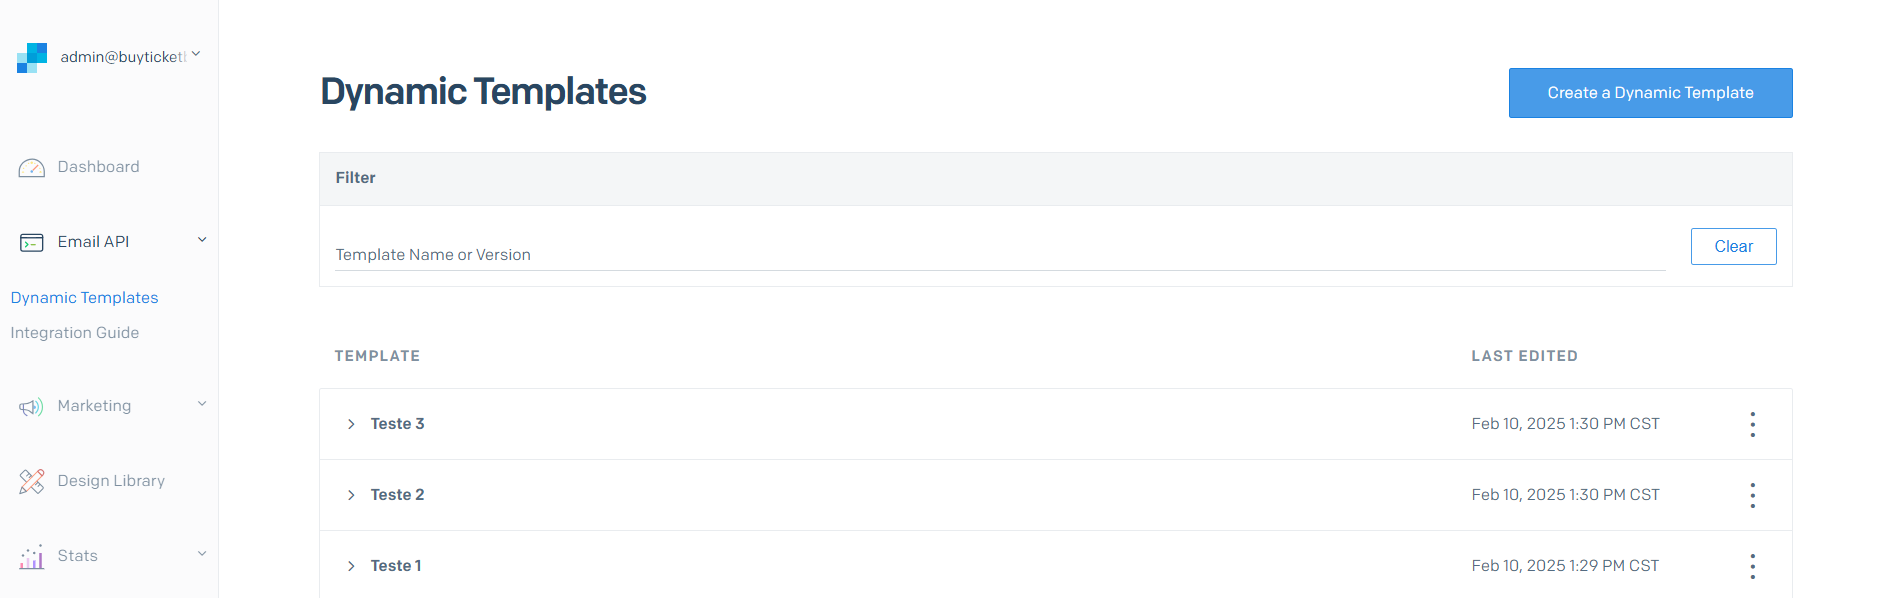
3 - In your dashboard, go to ‘Email API’ and then ‘Dynamic Templates’

Here you can view the list of templates, create, edit, and delete templates:
Let’s create a new template and name it: Case Study - SendGrid X Bubble

Once created, save the Template ID. (It will be very important for the APIs):

Now that we’ve created the template, let’s trigger the ‘Add version’ action to select the template we want to use:
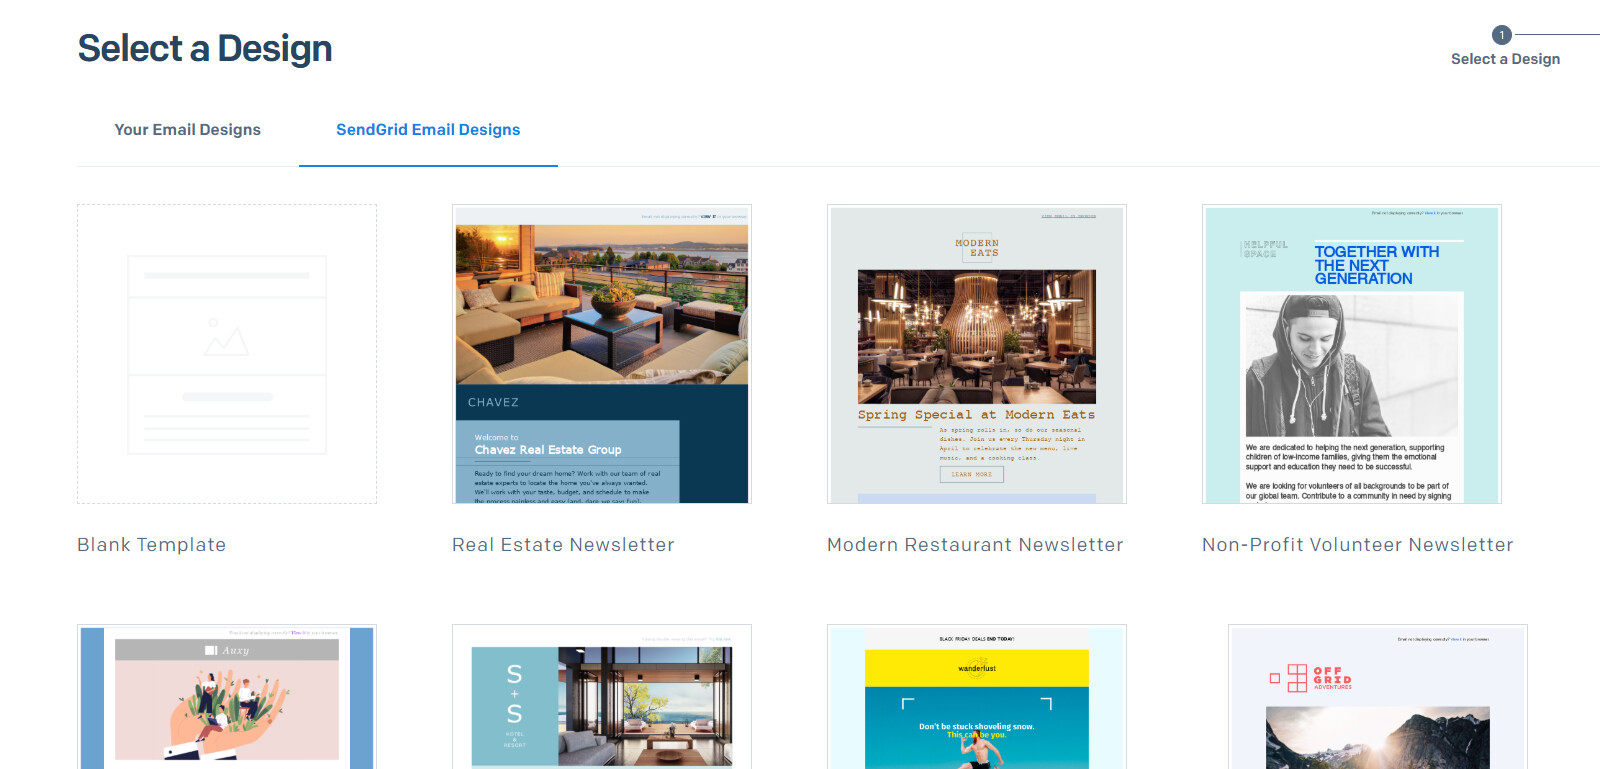
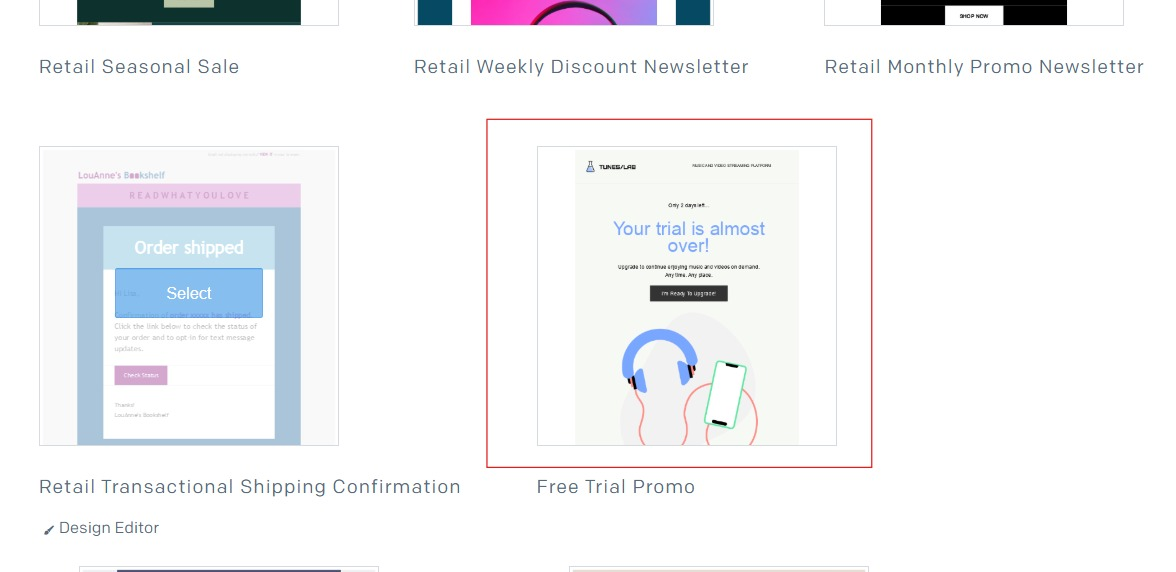
(Remember: You can also create template models, in this case, we will select a ready-made one).
In this case, I’ll select this template and use it as the ‘Code editor’ to edit the root code of the template:

Shall we review? It’s always good to prevent errors, right? ![]()
- Save your API token
- Create a new template and name it
- Save the Template ID
- Select the template model
- ‘Code Editor’
Is everything set? If you haven’t done any of these steps, I strongly suggest you do so. Follow this step-by-step guide to integrate your app with SendGrid. If everything is good, let’s proceed:

Now that we have our code editor, don’t be scared! ![]() It’s simpler than you think.
It’s simpler than you think.
Following the best practices and the content provided in the documentation from SendGrid, I’ll show you step-by-step how to insert {{ }} tags into the HTML body:

On the right side of the screen, we can see the phrase ‘Your trial is almost over!’. On the left, we can see the same text inserted in the HTML body of the page. Below, we can see other text boxes:

And below, the button ‘I’m ready to upgrade!’. Now let’s think: In an email template, what information is important for the user? What parameters are necessary to make this email more personal, comfortable, and secure for the user?
Well, maybe the user’s name, address, the email we are sending the message from, etc. There can be many possibilities, but in this case, we will use only 3 parameters: User name, Phone number, and address.
With the parameters defined, let’s add them to our text box:

We added:
Hi {{name_user}}
SMS on your phone: {{phone}}
Charged to the address: {{address}}
Once that’s done, the selected tags, let’s name our template to be sent in the email:
Click on ‘Settings’ in the top left field and name the fields:
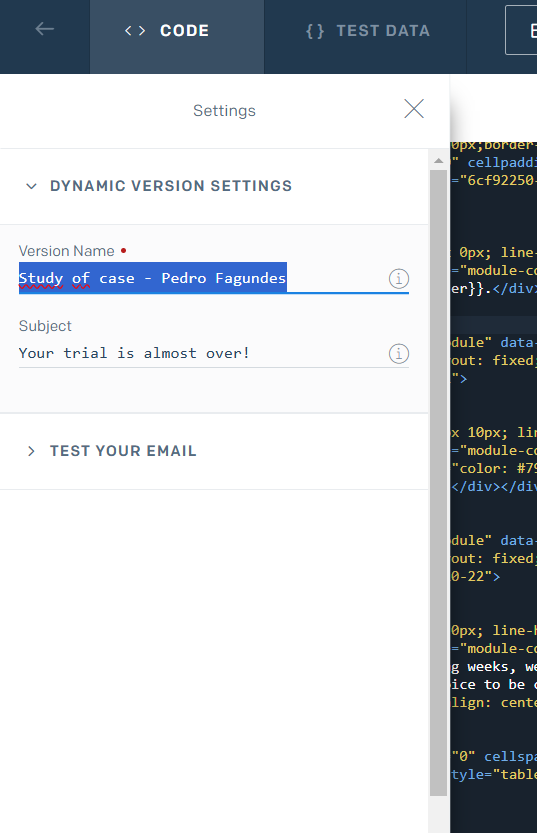
Make sure to save the template, and all set! Your template is configured. Now, following all these steps, let’s go to Bubble.
In Bubble, install the API connector in the plugins tab and create an API group called: SendGrid
In this API group, add:
Name: xxxxxx Use as: ACTION - Data type: EMPTY
Method Post - url: https://api.sendgrid.com/v3/mail/send
Headers:
Authorization: Bearer your api token
Content-type: application/json
body:
{
“personalizations”: [
{
“to”: [
{
“email”: “<user_email>”
}
],
“dynamic_template_data”: {
“name_user”: “<name_user>”,
“phone”: “”,
“address”: “”
}
}
],
“from”: {
“email”: “email_verified_by_sendgrid”,
“name”: “Pedro Fagundes”
},
“template_id”: “d-931dff4ec0ab412fa69977c75c64304c”
}
“<user_email>”: the recipient of the email
“dynamic_template_data”: dynamic data of the template ( {{ }} )
“<name_user>”: user name
“phone”: “”: user’s phone number
“address”: “”: user’s address
“email_verified_by_sendgrid”: Remember! You must use an email verified by SendGrid (registration email)
“name”: “Pedro Fagundes”: Example email name
“template_id”: “d-931dff4ec0ab412fa69977c75c64304c”: The ID of the template you saved.
Initialize the call and it will return the following:
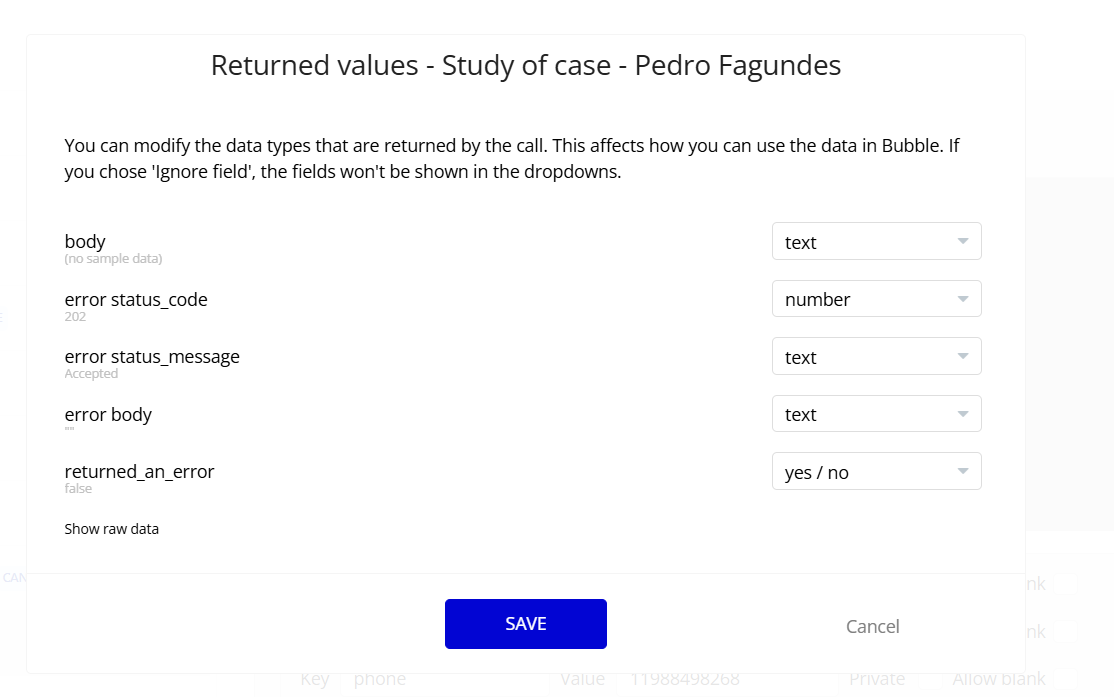
Check your inbox and:

Here it is!!! ![]()
![]()
![]()
![]() Our template is ready for use.
Our template is ready for use.
But wait… did we stop here? Of course not! Now I’ll show you how we can make our template even more dynamic using the frontend functionalities that Bubble allows us to use. Let’s continue:
In Bubble, create a test page.
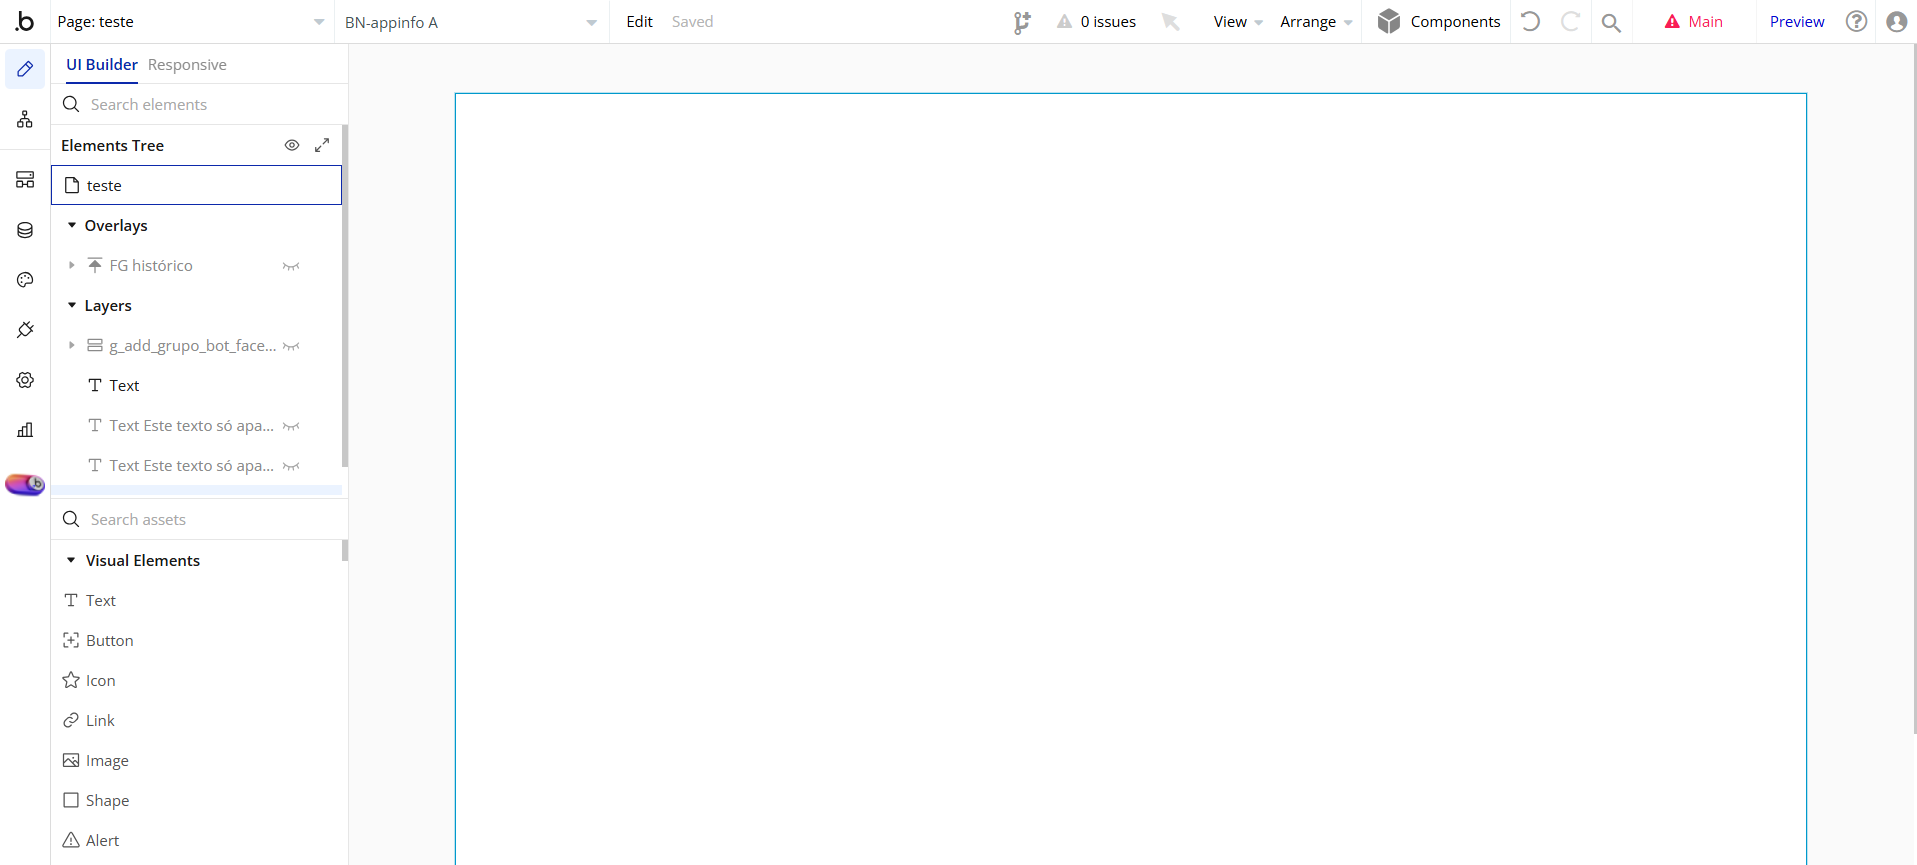
On this page, we will add some elements such as: HTML, Dropdowns, and buttons.
1- Go back to SendGrid in the HTML body of your email:

2- Add an HTML element from the element tree to your Bubble page and paste the HTML code:

(I suggest setting the page width to 1200px and height to 1767px)
- In your HTML element, add the width and remove the maximum height. (In my case, I removed the maximum height and set the maximum width to 650px)
- In the HTML body, search for the text boxes with {{ }} (name_user, phone, and address)
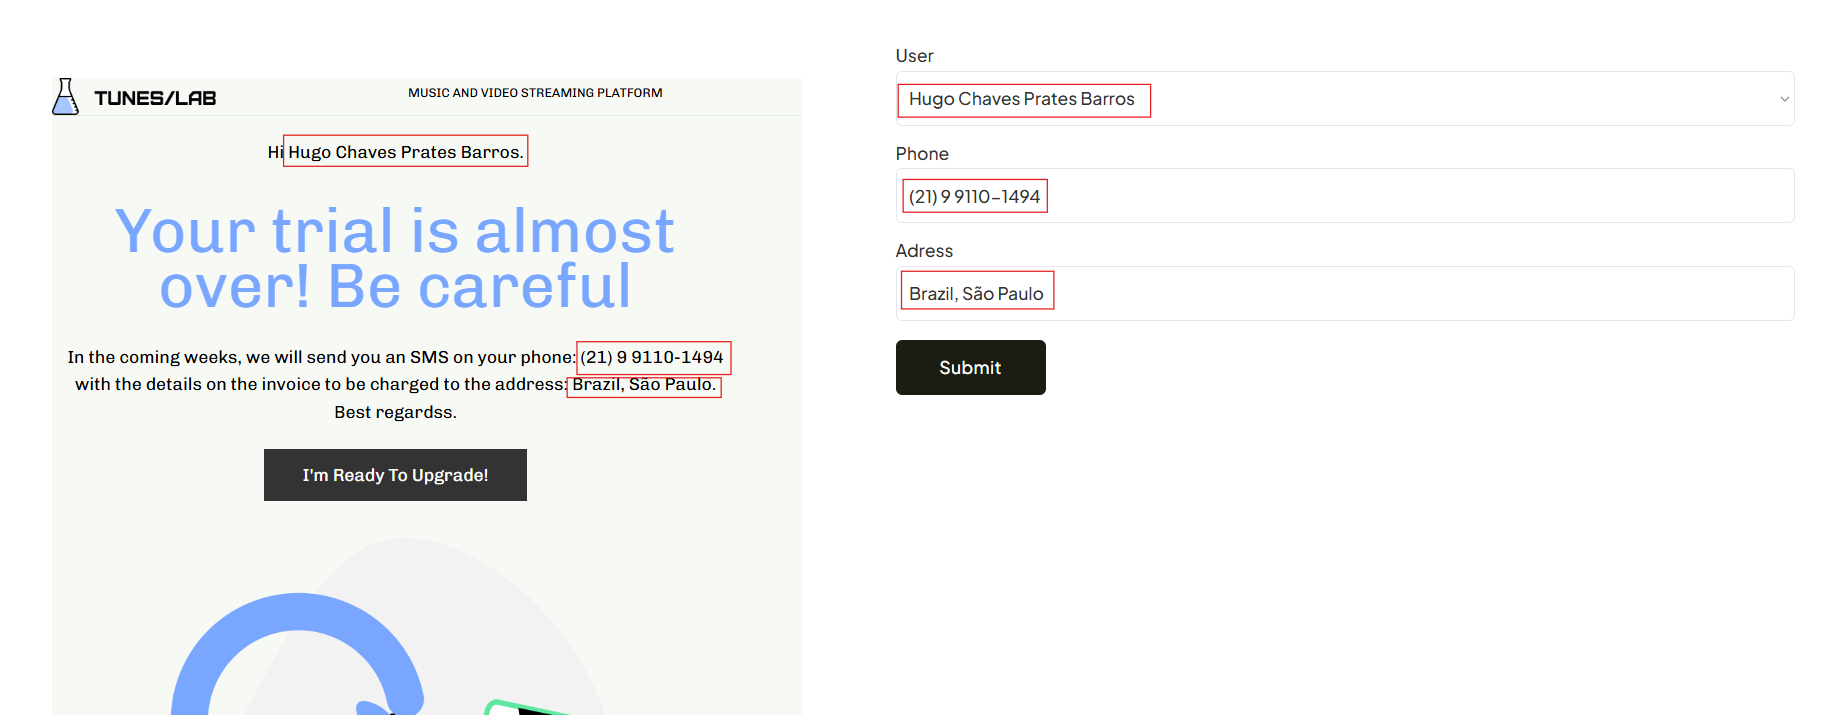
3- Add the form inputs:

- Add a Dropdown of type “user” and search for all users.
- In the phone field, set the data source to the result of this dropdown (user) and pull their phone number.
- In the address field, set the data source to the result of this dropdown (user) and pull their address.
In the HTML code, replace the {{ }} tags with the form fields, like this example:
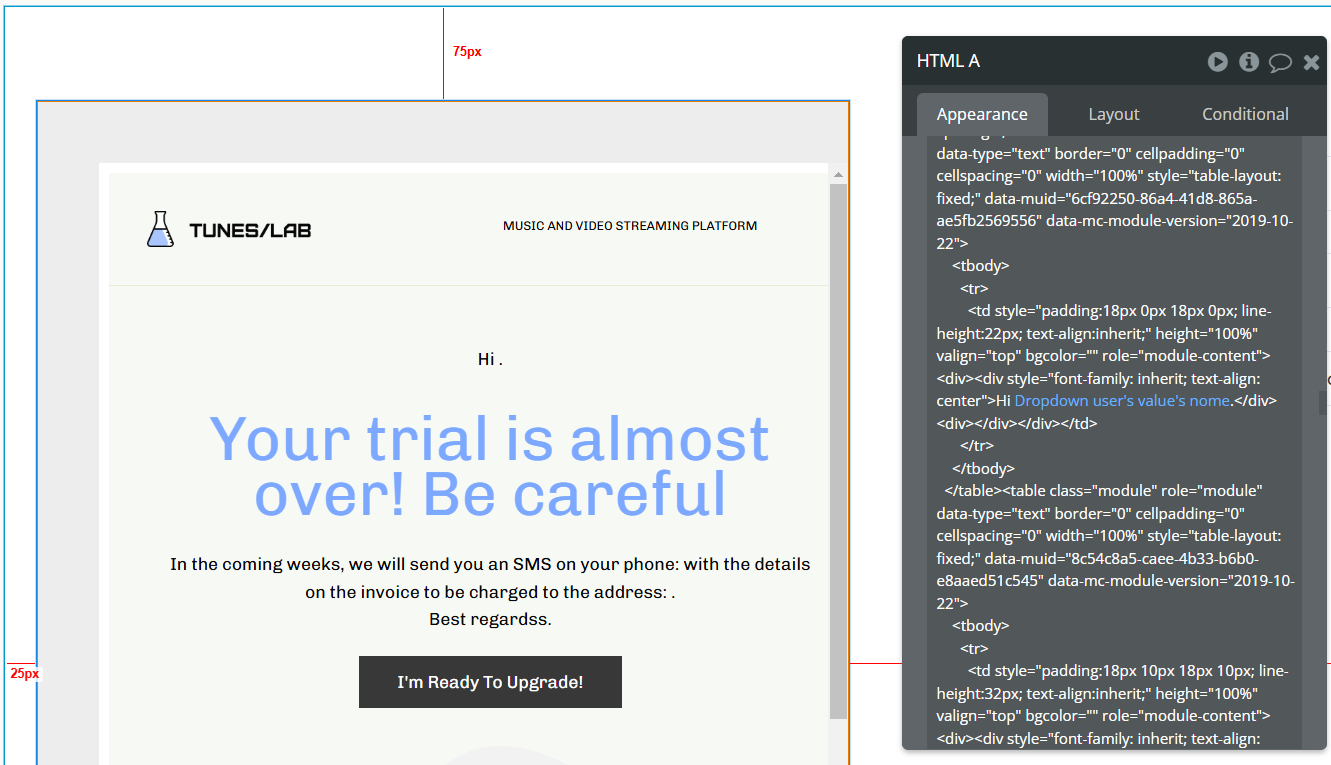
(name_user) = Dropdown user value
(phone) = Input phone
(address) = Input address
And remember, this is just to visualize how it will look in the sent email!
And that’s it! Our template will look like this:
Now, let’s set up our workflow:
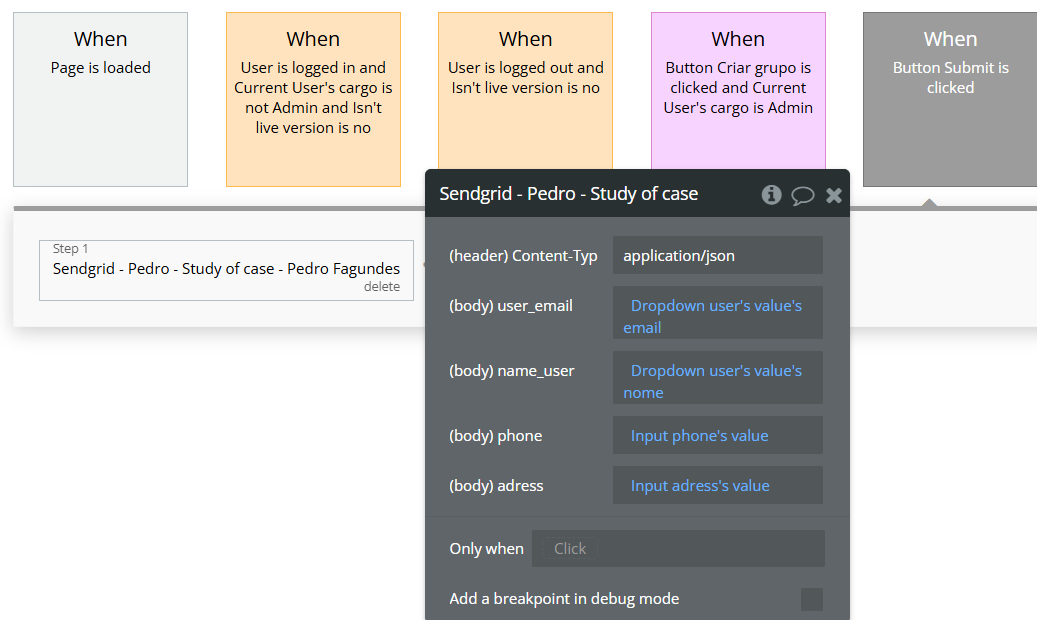
Remember to use the ‘user-email’ as the dropdown value and pull the user’s email.
If you followed all these steps and added the dynamic expressions to the workflow, your email template is ready to go live!!!
In case of any errors, please feel free to comment below. I will respond as quickly as possible.
This was the SendGrid case study: Send dynamic templates with SendGrid and Bubble.io.
Like and comment ![]()