I am hoping somebody could help me understand how to use the css and other code found on codepen to produce some different effects. I’ve tried to load the code from codepen but really have absolutely no idea what I am doing, so obviously having zero success.
I basically want to create a ribbon like the green breakfast included ribbon
I found a link to codepen
But for the life of me I have no idea what to do to get it to work. Any help, suggestions, examples or links to other posts that could help would be much appreciated.
Minimal knowledge of HTML and CSS is required for, well… HTML and CSS
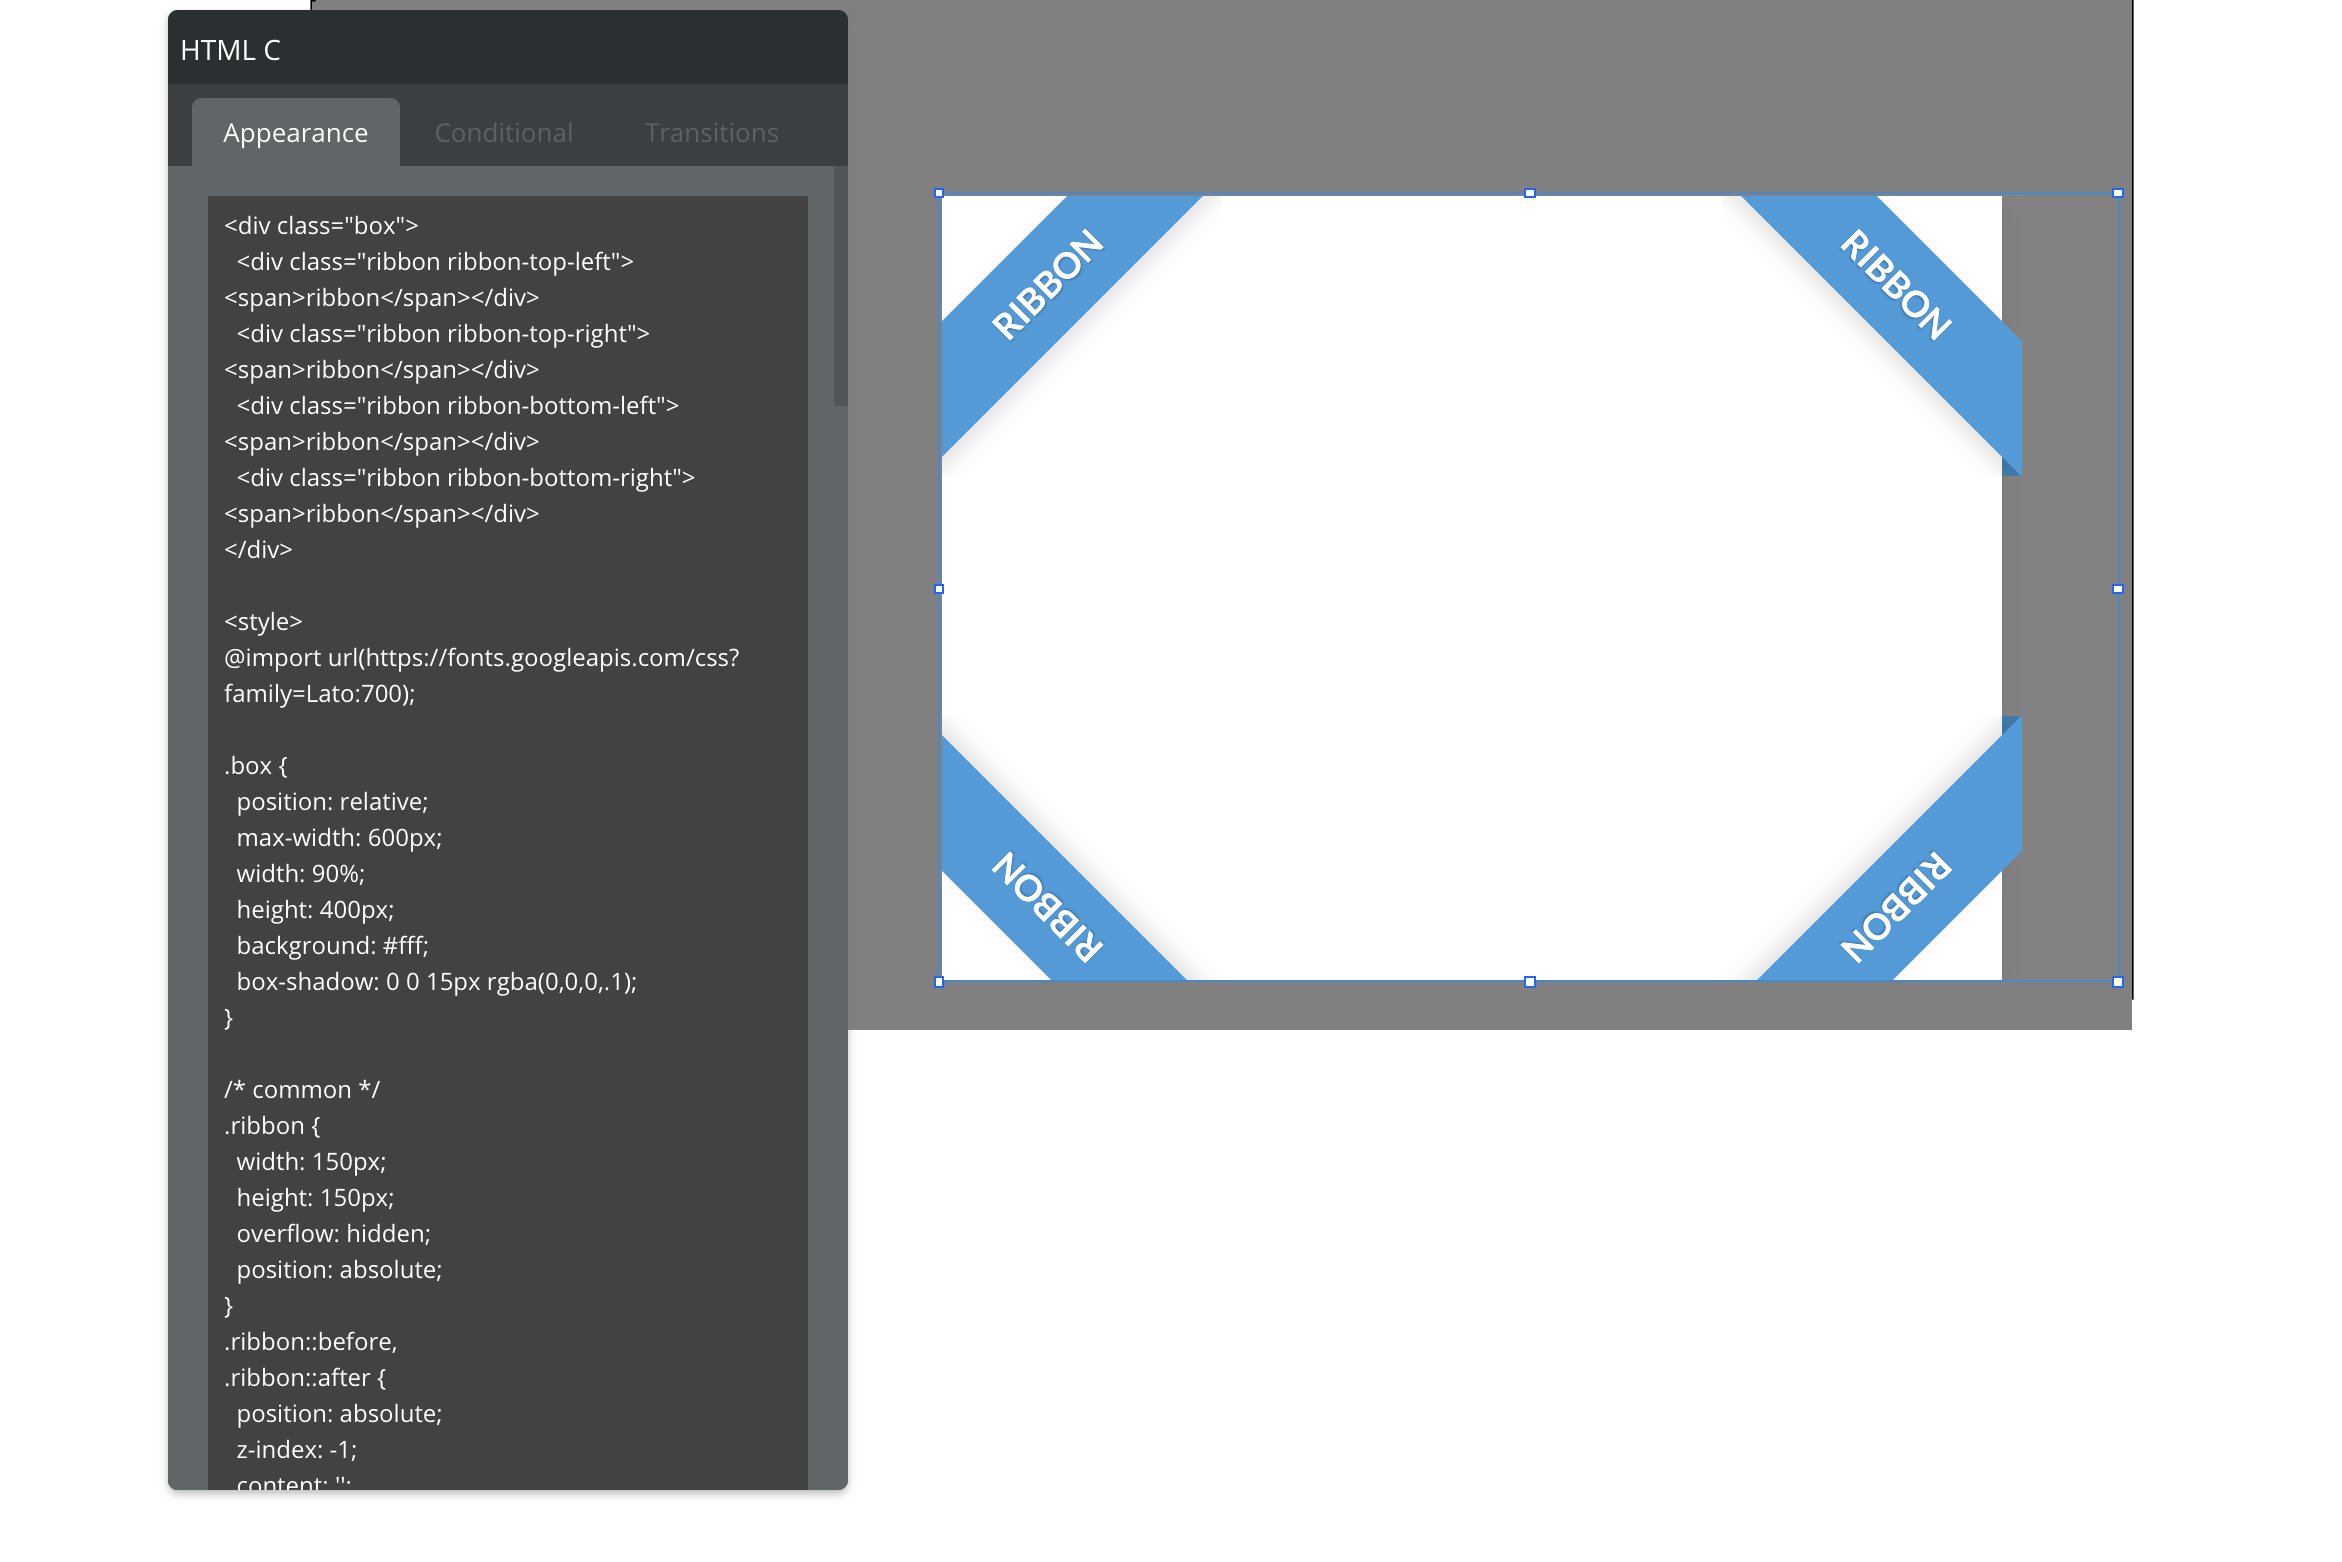
I took the Codepen example you provided, removed the .body { ... } to prevent conflicts with you Bubble page and added the CSS content in style attributes. All this in an HTML element in the editor and it seems to work perfectly:
The idea of using the at the top of the css portion was what I was missing.
I appreciate the help and push in the direction. Now I can spend some time playing around with things to see if I can get it to work as I would like to.
By the way, does the code you use have the at the very bottom of it after the CSS? Currently I only have the at the top and on page preview it looks fine.
Basically I took out the other three banners to leave only the top left one. It is an html element. Then I created a group element…put the html element inside it at X=0 Y=0 and have the html “bring to front”
I also put an image element into the group to “wrap” the banner around.
Probably not the most sophisticated way, but I had issues with getting all the dynamic data I needed into the html element…so I opted for this simpler approach.
One thing I am having a bit of an issue with is getting the “wrap around” effect to display correctly on all banners ( either top left or bottom right etc )
On the bottom right everything is shown correctly
Notice the blue part that shows the “wrap around” effect…it is not present on the top left
Which has to be something with the positioning of the “box” in the code…I think because I deleted the box from the code
@nocodeventure if you find a solution to this please share…
I looked at your editor. Since it’s in read-only, I can only suggest changes: 1. Try to change those “-10px” to just “0”
By removing the .box {...} rule, the HTML div.box went from relative positioning to static (default) which affect how things are displayed. Bringing back the ribbon offset to 0 fixed it on my side.
2. It’s not working, try adding z-index: 5; under position: absolute; and change the “-1” z-index to 4.
z-index define the layering order what element is above what?? Behind the scene, Bubble uses z-indexes when we click on “Bring to front” or “Send to back”.
The guy who made the codepen made it so it works in its context. Now we’re are in Bubble. I believer the change I’m suggesting will put the ribbon’s back side just above the image and the ribbon itself just above the backside…
But for good measure I implemented the second suggestion as well
I believe it was not necessary to have the z-index change as I saw a difference after changing the negative positioning, but believe the z-index will probably help for ensuring it is always “above” other elements on the page.
Thanks a lot for the help on that. It is much appreciated and opens up a lot of possibilities for me now that I can play around with css from codepen and see what I might be able to do.
Thank you. That plugin looks like a powerful tool. I think overall for where I am at with bubble and app development, I am going to play it safe and use as little CSS as I can. Just playing with it today I see it breaking and causing issues, which I’ve heard previously and you mentioned on your plugin post, that bubble’s CSS can / will override custom css at times.
I think I will be playing it safe, but it is great to know the possibilities. Hopefully after a successful launch I could go back to more complex design issues to polish things up.